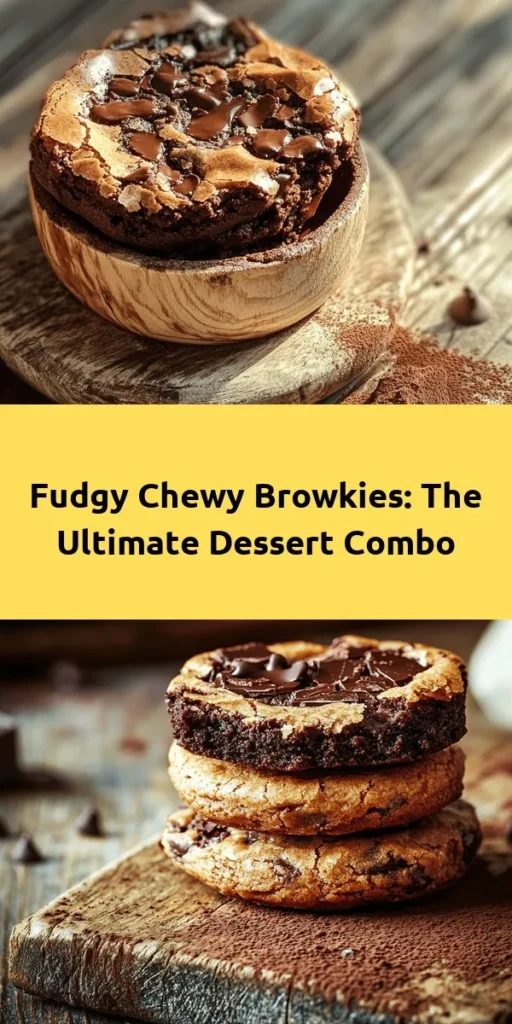
Indulging in a dessert that combines the rich chocolatey goodness of brownies with the delightful chewiness of cookies is a dream come true for many dessert lovers. The Best Fudgy Chewy Browkies offer just that—a decadent treat that marries two beloved desserts into one irresistible creation. If you find yourself torn between a brownie and a cookie, browkies are the perfect solution, delivering the best of both worlds in every bite. This article will explore the details behind this unique recipe, including the ingredients, preparation steps, and tips for achieving the perfect texture and flavor. Whether you are a seasoned baker or a novice in the kitchen, this guide will ensure your browkies come out fudgy, chewy, and utterly delicious.
Understanding the Browkie Phenomenon
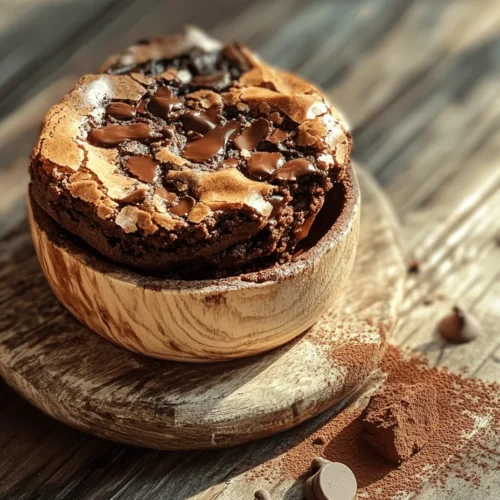
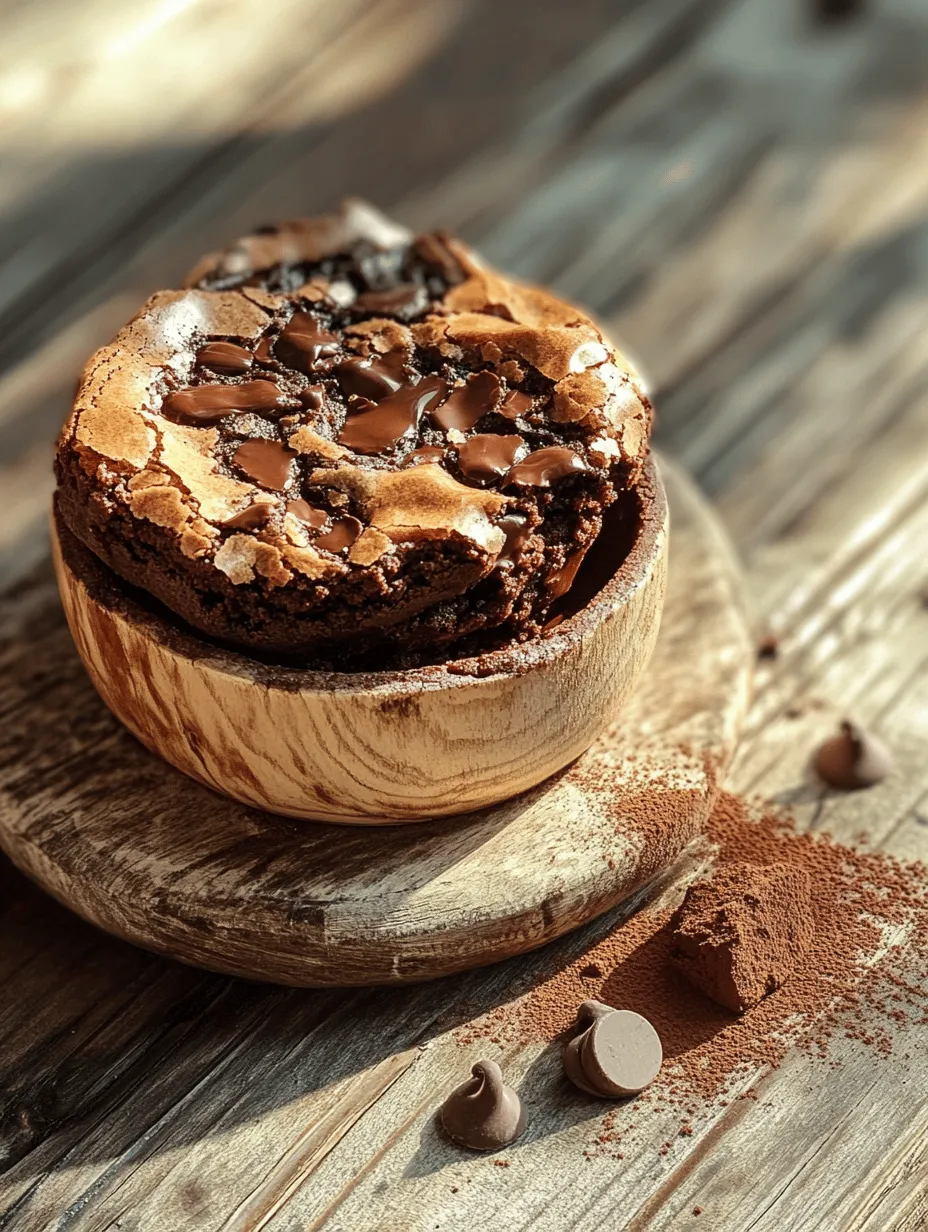
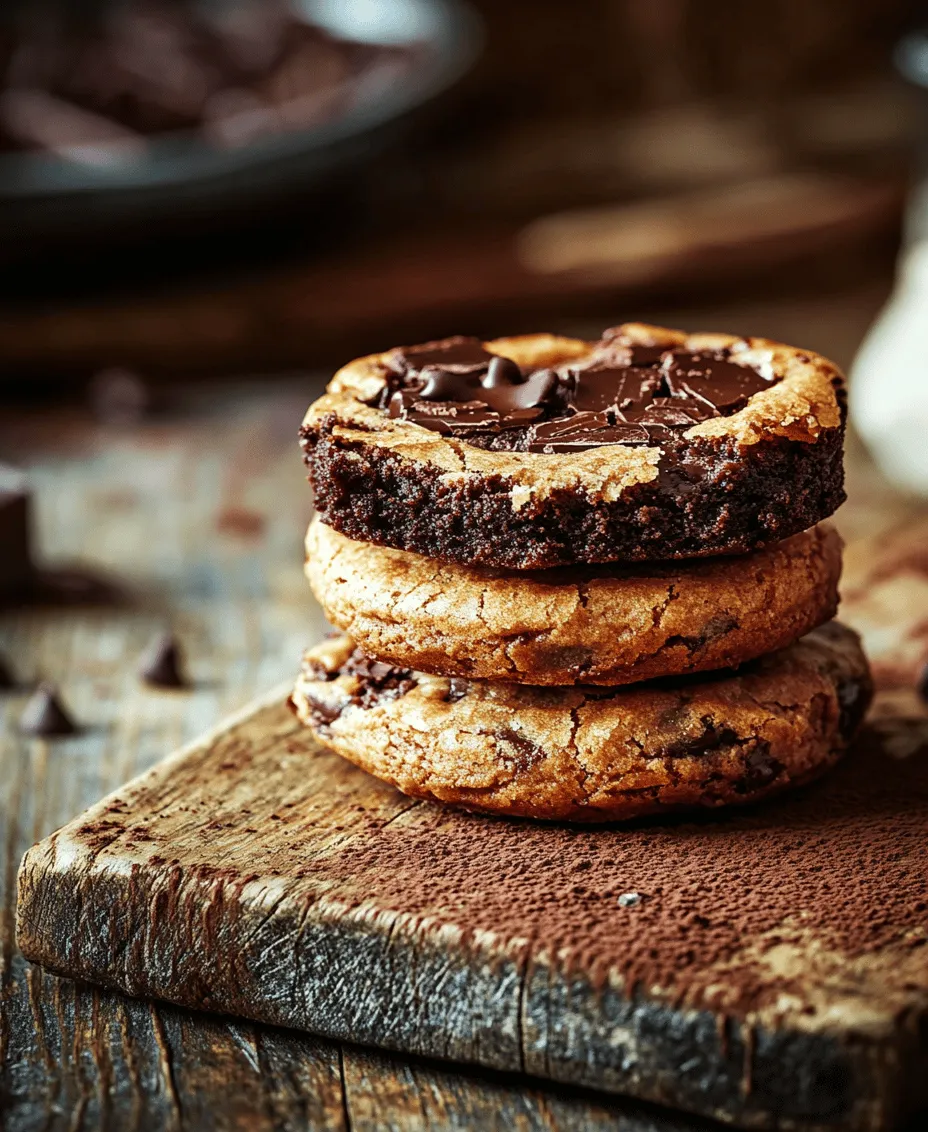
The Browkie, a fusion of brownies and cookies, has gained popularity for its unique texture and flavor profile. The appeal lies in the harmonious blend of the dense, moist brownie base and the soft, chewy cookie topping. This combination creates a delightful contrast that tantalizes the taste buds, making each bite a new experience.
What sets browkies apart is their ability to satisfy multiple cravings in one go. The rich, chocolaty flavor from the brownie layer complements the sweetness and chewiness of the cookie layer, resulting in a dessert that is both complex and comforting. The browkie phenomenon has taken social media by storm, with countless variations and adaptations, but our focus here is on crafting the best fudgy chews that are sure to impress anyone who takes a bite.
The beauty of browkies is that they can be customized to suit personal preferences. From adding different mix-ins to adjusting the sweetness, this recipe allows for creativity while maintaining the foundational elements that make browkies a beloved dessert. Let’s dive into the essential ingredients that will bring this delightful dessert to life.
Ingredients Overview
Creating the Best Fudgy Chewy Browkies starts with understanding the ingredients that contribute to their rich flavor and texture. This recipe is divided into two main layers: the brownie layer and the cookie layer. Each layer requires specific ingredients that work together to achieve the perfect balance of fudginess and chewiness.
Brownie Layer Ingredients
1. Unsalted Butter: The foundation of the brownie layer, unsalted butter adds richness and moisture, essential for creating that fudgy texture we all crave. Using unsalted butter allows for better control over the overall saltiness of the dessert.
2. Sugar: Granulated sugar is typically used to sweeten the brownie layer, while brown sugar can be added for additional moisture and a hint of caramel flavor. The combination of both sugars will enhance the fudginess of the brownies.
3. Eggs: Eggs are crucial for binding the ingredients together and provide structure to the brownies. They also contribute to the overall richness of the dessert, so using large eggs is recommended.
4. Cocoa Powder: The star ingredient of the brownie layer, cocoa powder imparts that deep chocolate flavor. Opt for high-quality unsweetened cocoa powder to achieve the best results.
5. Flour: All-purpose flour is used to create the base of the brownie layer. The right amount of flour is key to maintaining the fudgy consistency; too much flour can lead to a dry brownie.
6. Chocolate Chips (Optional): For chocolate lovers, adding semi-sweet or dark chocolate chips to the brownie layer can elevate the dessert. These chips melt during baking, creating pockets of gooey chocolate throughout.
Cookie Layer Ingredients
1. Granulated Sugar and Brown Sugar: The combination of both sugars in the cookie layer helps achieve that desired chewy texture. Granulated sugar contributes to crispness, while brown sugar adds moisture and a rich, caramel-like flavor.
2. Unsalted Butter: Just like in the brownie layer, unsalted butter is essential in the cookie layer for a light and airy texture.
3. Eggs: One egg generally suffices for the cookie layer, providing the necessary moisture and binding properties while keeping the cookies soft.
4. All-Purpose Flour: Flour is the primary structure for cookies. The right amount ensures the cookies are not too thick or too thin.
5. Baking Soda: This leavening agent gives the cookies a slight lift, helping them expand and become soft and fluffy during baking.
6. Vanilla Extract: A splash of vanilla extract adds depth of flavor to the cookies, balancing the sweetness and enhancing the overall taste.
7. Mix-Ins (Optional): You can personalize your browkies by adding nuts, chocolate chunks, or even dried fruits to the cookie layer for added texture and flavor.
Step-by-Step Instructions for Perfect Browkies
Now that we have a good understanding of the ingredients, let’s get into the step-by-step instructions for preparing the Best Fudgy Chewy Browkies. This comprehensive guide aims to provide clarity and ease for every step, ensuring a successful baking experience.
Prepping the Oven and Baking Pan
Before diving into the mixing process, it is crucial to prepare your oven and baking pan properly.
1. Preheat the Oven: Set your oven to 350°F (175°C). Preheating is essential to ensure the browkies bake evenly and develop the right texture.
2. Prepare the Baking Pan: Choose a standard 9×13 inch baking pan for this recipe. You can either grease the pan with baking spray or butter, or line it with parchment paper for easy removal after baking. If using parchment paper, allow some overhang so that you can lift the browkies out of the pan once they have cooled.
Creating the Brownie Layer
The brownie layer is the heart of the browkie, providing that rich, fudgy base.
1. Melt the Butter: In a medium saucepan over low heat, melt the unsalted butter. Remove from heat once melted and allow it to cool slightly.
2. Mix in Sugars: Stir in the granulated sugar and brown sugar until well combined. The mixture should be smooth and glossy.
3. Add Eggs: Incorporate the eggs one at a time, mixing well after each addition. This step is crucial for achieving a fudgy consistency, as it introduces air into the batter.
4. Incorporate Cocoa Powder and Flour: Sift together the cocoa powder and flour in a separate bowl. Gradually fold the dry ingredients into the wet mixture using a rubber spatula, being careful not to overmix. Overmixing can lead to a denser brownie, which we want to avoid.
5. Optional Chocolate Chips: If you’re adding chocolate chips, fold them in at this stage for an extra chocolate kick.
Crafting the Cookie Layer
Next, we will create the cookie layer that will sit atop the brownie layer, adding that delightful chewiness.
1. Cream the Butter and Sugars: In a large mixing bowl, beat together the unsalted butter, granulated sugar, and brown sugar using an electric mixer. Beat until the mixture is light and fluffy, which typically takes about 2-3 minutes.
2. Add the Egg and Vanilla: Mix in the egg and vanilla extract until fully combined. This step ensures your cookies have a rich flavor and the right amount of moisture.
3. Combine the Dry Ingredients: In a separate bowl, whisk together the all-purpose flour and baking soda. Gradually add the dry ingredients to the wet mixture, mixing until just combined. Be mindful not to overmix; this will help maintain the cookies’ chewiness.
4. Optional Mix-Ins: If desired, fold in any additional mix-ins like nuts or chocolate chunks, ensuring they are evenly distributed throughout the cookie dough.
Layering the Brownie and Cookie Mixtures
With both layers prepared, it’s time to assemble your browkies.
1. Pour the Brownie Batter: Begin by pouring the brownie batter into the prepared baking pan, spreading it evenly across the bottom.
2. Add the Cookie Dough: Next, dollop spoonfuls of the cookie dough over the brownie layer. Use a spatula or the back of a spoon to gently spread the cookie dough out, covering as much of the brownie layer as possible. It’s okay if some brownie batter peeks through; this will create a marbled effect as they bake.
3. Bake: Place the assembled browkies in the preheated oven and bake for 25-30 minutes. The browkies are done when the edges are set, and a toothpick inserted into the center comes out with a few moist crumbs. The center should remain slightly soft for that fudgy texture.
4. Cooling: Once baked, remove the pan from the oven and allow the browkies to cool in the pan on a wire rack. This cooling process helps the layers set properly, making it easier to cut them into squares without falling apart.
By following these detailed steps, you’ll be well on your way to creating the Best Fudgy Chewy Browkies. The next part of this article will delve into tips for achieving the perfect texture, as well as addressing common questions that arise when making this decadent dessert. Stay tuned for more expert advice to ensure your browkies turn out perfectly every time.
How to Dollop the Cookie Dough for Texture Variation
Creating the perfect texture for your Browkies begins with how you dollop the cookie dough. For an appealing visual and textural variation, consider using a cookie scoop or two spoons to create irregular shapes. The idea is to let the cookie dough maintain its natural form, resulting in a mixture of thick, chewy edges and softer, fudgier centers.
To achieve this, take a generous scoop of cookie dough and let it fall onto the brownie layer without smoothing it out completely. This technique allows the cookie dough to spread slightly as it bakes, creating delightful peaks and valleys that enhance both the look and mouthfeel of your Browkies. For an added crunch, sprinkle a few chocolate chips or chunks on top of the dollops before baking.
Visual Cues to Look for When Layering
Layering your Browkies properly is crucial for achieving that signature fudgy and chewy texture. As you prepare to layer the brownie and cookie dough, keep an eye out for the following visual cues:
– Brownie Layer: The brownie base should be glossy on top and slightly set around the edges before adding the cookie dough. This indicates that it has started to set but is still soft enough to blend with the cookie dough.
– Cookie Dough Layer: When dolloping the cookie dough, it should look thick and chunky. Avoid spreading it too thin; you want to maintain those peaks for texture.
By paying attention to these cues, you can ensure a perfect balance between the brownie and cookie layers, resulting in Browkies that have a rich, decadent taste and an appealing appearance.
Baking the Browkies
Timing and Temperature for Perfect Baking Results
The baking process is where all your hard work pays off. Preheat your oven to 350°F (175°C) for optimal baking. Once your Browkies are layered, place them in the oven for approximately 25-30 minutes. However, oven temperatures can vary slightly, so it’s essential to start checking for doneness around the 25-minute mark.
Understanding Signs of Doneness to Avoid Overbaking
The key to achieving the perfect Browkies lies in knowing when to remove them from the oven. Look for the following signs of doneness:
– Edges: The edges should appear firm and slightly puffed, while the center may still look a bit soft. This is a good indication that they are not overbaked.
– Surface: The top should have a shiny, crinkled appearance, which is a hallmark of brownie texture.
– Toothpick Test: Insert a toothpick into the center; it should come out with a few moist crumbs attached but not wet batter. This ensures that your Browkies remain fudgy without being undercooked.
Once you’ve identified these signs, remove your Browkies from the oven and allow them to cool slightly in the pan before transferring them to a wire rack.
Cooling and Serving
The Cooling Process and Why It Matters for Texture
Cooling your Browkies is a crucial step that should not be overlooked. Allow them to cool in the pan for about 10-15 minutes. This resting period allows the brownie layer to set further, creating a more cohesive texture with the cookie dough on top. If you cut them too soon, you risk them falling apart, losing that desirable chewy and fudgy consistency.
Cutting Techniques for Uniform Pieces
Once your Browkies are adequately cooled, it’s time to cut them into squares. For the best results:
1. Use a Sharp Knife: A sharp knife will help you achieve clean cuts without squishing the layers together.
2. Wipe Between Cuts: To maintain clean edges, wipe the knife with a damp cloth after each cut. This prevents the chocolate and cookie dough from smearing and ensures each piece looks visually appealing.
3. Cut into Uniform Sizes: Aim for uniform squares to give a professional look. A 2×2 inch square is a popular choice, but you can adjust the size based on your preference.
Flavor Variations and Customization Ideas
While the classic combination of fudgy brownies and chewy cookies is hard to beat, there are countless ways to personalize your Browkies and elevate their flavor profile.
Flavor Enhancements
To add depth to your Browkies, consider these flavor enhancements:
– Extracts: Beyond the traditional vanilla extract, try incorporating almond or hazelnut extract for a nutty twist. A splash of peppermint extract can also create a festive touch, especially around the holidays.
– Spices: Adding spices like cinnamon or espresso powder can intensify the chocolate flavor and bring a warm, aromatic quality to your Browkies. Just a pinch of sea salt on top before baking can also enhance the sweetness and balance the flavors.
Mix-in Ideas
The possibilities for mix-ins are endless and can create delightful surprises in every bite:
– Chocolate Variations: Use a mix of dark, milk, and white chocolate chips for a flavor explosion. You can also fold in chunks of your favorite chocolate bars for added richness.
– Nuts: Chopped nuts like walnuts or pecans can add a satisfying crunch. Toasting them beforehand will enhance their flavor and aroma.
– Dried Fruits: For a chewy contrast, consider adding dried fruits like cranberries or cherries. These can add a tartness that beautifully complements the rich chocolate.
When incorporating mix-ins, be mindful of balancing the flavors and textures. Aim for a combination that enhances the Browkies without overwhelming the base.
Nutritional Information and Serving Suggestions
Understanding the nutritional aspects of your Browkies can help you enjoy them in moderation while maximizing their deliciousness.
Understanding Caloric Content
Here’s a brief breakdown of the key ingredients commonly used in Browkies:
– Brown Sugar: Provides moisture and a rich caramel flavor.
– Butter: Adds richness and aids in achieving a fudgy texture.
– Flour: The backbone of both the brownie and cookie layers, important for structure.
– Chocolate: The primary flavor component, which contributes to both taste and texture.
A standard serving of Browkies (about 1 square) contains approximately 200-250 calories. Be mindful of portion sizes, especially if you’re looking to enjoy these treats without overindulging.
Pairing Suggestions
To elevate your Browkies experience, consider these pairing suggestions:
– Beverages: A glass of cold milk is a classic pairing that complements the sweetness of the Browkies. For adults, a rich coffee or a dessert wine can enhance the chocolate flavors beautifully.
– Presentation Tips: Serve your Browkies on a beautiful platter, garnished with a dusting of powdered sugar or a drizzle of melted chocolate. Add a scoop of vanilla ice cream on the side for an indulgent treat.
Conclusion: The Delight of Browkies
The Best Fudgy Chewy Browkies are more than just a dessert; they are a celebration of flavors and textures that bring joy to any occasion. With the right ingredients and preparation steps, anyone can recreate this delightful treat in their own kitchen. Whether enjoyed as a sweet ending to a meal or as a midday snack, these Browkies are sure to satisfy your sweet tooth and impress your family and friends.
By following this guide, you’ll not only master the art of making Browkies but also discover the joy of baking from scratch. Each bite offers a perfect balance of fudgy brownie and chewy cookie, making them an irresistible choice for any dessert lover. So gather your ingredients, preheat your oven, and get ready to indulge in the delightful world of Browkies!