Introduction
There’s something inherently joyful about making homemade pizza. It’s an experience that engages the senses, from the aroma of baking dough to the colorful array of toppings that can be piled high. At the heart of this culinary creation lies a crucial element: a good pizza dough. The foundation of your pizza, the dough determines not only the texture but also the flavor profile of the final product.
Artisan pizza dough, in particular, elevates the concept of homemade pizza. It offers a delightful chewiness and a rustic flavor that can turn an ordinary meal into a gourmet experience. The versatility of artisan pizza dough is remarkable; it serves as a blank canvas, ready to embrace an array of toppings, from classic Margherita to innovative combinations like pear and gorgonzola.
Crafting your own artisan pizza dough from scratch can be immensely satisfying. It’s a skill that not only enhances your culinary repertoire but also provides a sense of accomplishment. As you knead, rise, and shape your dough, you are participating in a time-honored tradition that connects you with countless home cooks and professional chefs alike. So, let’s roll up our sleeves and dive into the world of artisan pizza dough.
Understanding the Basics of Pizza Dough
At its core, artisan pizza dough is characterized by its high-quality ingredients and traditional preparation methods. The term “artisan” signifies a commitment to craftsmanship, which is reflected in the careful selection of ingredients and the fermentation process that enriches the dough’s flavor and texture.
The Essential Ingredients of Artisan Pizza Dough
The hallmark of artisan pizza dough lies in its simplicity. The basic components include flour, yeast, water, salt, and olive oil. Each ingredient plays a vital role in the dough’s development:
1. Flour: The foundation of any pizza dough, flour is what gives the dough its structure. For artisan pizza dough, all-purpose flour is often the preferred choice due to its balanced protein content, which provides the right amount of gluten for elasticity and chew.
2. Yeast: This tiny microorganism is essential for fermentation, which allows the dough to rise and develop flavor. Active dry yeast is commonly used, requiring activation to ensure it performs effectively.
3. Water: The hydration level of the dough is critical. Warm water is used to activate the yeast, and the temperature plays a crucial role in determining yeast activity.
4. Salt: Often overlooked, salt is a flavor enhancer and is also necessary for gluten development. It strengthens the dough and helps control fermentation.
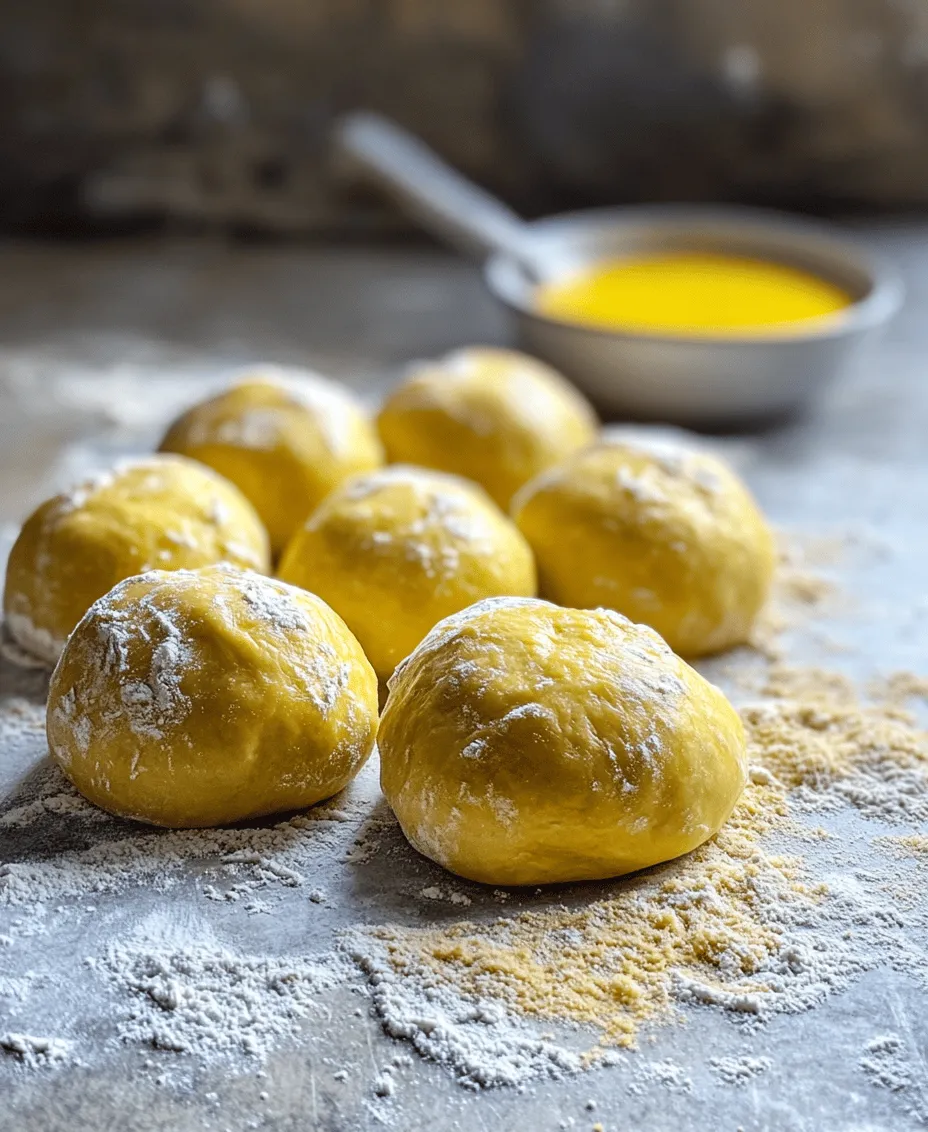
5. Olive Oil: Not only does olive oil add flavor, but it also contributes to the dough’s moisture retention, leading to a tender crust.
6. Sugar: While not always included, sugar can help activate the yeast and add a touch of sweetness to balance the dough’s flavor.
7. Cornmeal: Used for dusting, cornmeal prevents the dough from sticking to surfaces and adds a delightful texture to the crust.
The Importance of Fermentation
Fermentation is a critical process in making artisan pizza dough. As yeast consumes sugar, it produces carbon dioxide, which causes the dough to rise. This not only increases the volume of the dough but also allows for the development of complex flavors. Longer fermentation times yield richer flavors and improved texture, which is why many artisan pizza recipes call for a slow rise, often overnight.
The result is a dough that is airy yet has a nice chew, creating a delightful contrast with whatever toppings you choose. Understanding the fermentation process empowers you to experiment with various rising times, giving you the flexibility to create the perfect dough that suits your taste.
Ingredients Breakdown
To help you achieve the best artisan pizza dough, let’s delve deeper into each ingredient and its role in the recipe.
1. All-Purpose Flour
All-purpose flour is the go-to choice for artisan pizza dough due to its moderate protein content, which ranges from 10-12%. This protein level is ideal for developing gluten, providing the necessary structure and elasticity in the dough. While some bakers prefer using bread flour for its higher protein content, all-purpose flour strikes a balance that works well for most home cooks.
2. Sea Salt
Sea salt is not only a flavor enhancer but also plays a crucial role in gluten development. When added to the dough, it strengthens the gluten network, helping the dough maintain its shape and rise effectively. Opting for sea salt over table salt can elevate the flavor of your pizza crust, contributing to a more nuanced taste.
3. Sugar
While sugar isn’t always essential in pizza dough, it serves a critical function in activating the yeast. The small amount of sugar provides food for the yeast, stimulating fermentation and helping the dough rise. Additionally, it can enhance the browning of the crust, giving it a golden color when baked.
4. Active Dry Yeast
The heart of your dough’s rise, active dry yeast requires activation before use. This simple step is crucial for achieving the desired dough texture. The yeast should be dissolved in warm water (ideally between 100°F to 110°F) to ensure it becomes active. Look for visual cues, such as foam formation, to confirm that your yeast is alive and ready to work its magic.
5. Warm Water
The temperature of the water you use is vital for optimal yeast activity. Using water that is too hot can kill the yeast, while cold water can slow down the activation process. The ideal water temperature should be just warm enough to create a comfortable environment for the yeast to thrive.
6. Olive Oil
Adding olive oil to your pizza dough not only lends flavor but also enhances the dough’s texture. It helps to keep the dough moist, preventing it from drying out during fermentation and baking. Moreover, a little olive oil can make the dough easier to work with, reducing the chances of sticking.
7. Cornmeal
Cornmeal serves a practical purpose in artisan pizza making. When dusting your pizza peel or baking surface, cornmeal prevents the dough from sticking, allowing for easy transfer to the oven. It also adds a slightly crunchy texture to the bottom of the crust, enhancing the overall eating experience.
Step-by-Step Guide to Making Artisan Pizza Dough
Now that we’ve covered the essential ingredients and their roles, let’s move on to the practical steps of making artisan pizza dough.
Activating the Yeast
The first step in your dough-making journey is activating the yeast. This process is vital for ensuring that your dough will rise properly. Start by measuring out the warm water and adding the sugar. Stir gently to dissolve the sugar, then sprinkle the active dry yeast over the surface of the water. Allow it to sit for about 5-10 minutes at a warm temperature.
You’ll know your yeast is activated when it begins to foam and bubble, indicating that it is alive and ready to work. This visual cue is crucial—if you don’t see any foam after 10 minutes, you may need to start over with fresh yeast.
Mixing the Dry Ingredients
While the yeast is activating, you can prepare the dry ingredients. In a large mixing bowl, combine the all-purpose flour and sea salt. It’s important to evenly distribute the salt through the flour to avoid any pockets of salt that can inhibit yeast activity. Use a whisk or fork to mix these ingredients thoroughly.
Combining Ingredients to Form Dough
Once your yeast mixture is foamy and bubbly, it’s time to combine it with your dry ingredients. Create a well in the center of your flour mixture and pour in the activated yeast along with the warm water. Add the olive oil to the well as well.
Using a spatula or your hands, gradually mix the flour into the liquid, starting from the edges of the well and working your way inward. Continue until the mixture begins to come together into a shaggy dough.
Kneading the Dough
The final step in this initial phase is kneading the dough. Turn the shaggy mixture out onto a lightly floured surface. Kneading is crucial for developing the gluten, which gives the dough its structure and elasticity. To knead, fold the dough over itself and push down with the heel of your hand, then rotate it a quarter turn and repeat.
Knead for about 8-10 minutes, until the dough is smooth and elastic. If the dough is too sticky, sprinkle a little extra flour as needed. You’ll know the dough is ready when it springs back when pressed and has a smooth, supple texture.
With these steps complete, your artisan pizza dough is on its way to becoming a delicious base for your favorite toppings. The following sections will guide you through the fermentation process and provide tips for achieving the perfect crust, so stay tuned!
Signs of Well-Kneaded Dough
When it comes to making artisan pizza dough, kneading is a crucial step that impacts the final texture and flavor. A well-kneaded dough should feel smooth and elastic, and when you stretch it, it should not tear easily. Here are some signs that indicate your dough has been kneaded properly:
1. Elasticity: When you press your finger into the dough, it should spring back slowly. This elasticity is a sign that the gluten has developed adequately, providing structure to your pizza crust.
2. Smooth Surface: The dough should have a nice, smooth surface without any cracks. If it looks rough or uneven, it may need more kneading.
3. Pliable Texture: You should be able to shape the dough without it being sticky. If it sticks to your hands or the work surface, it may require a little more flour, but be careful not to overdo it.
The First Rise: Understanding Fermentation
Once kneaded, the dough needs to undergo its first rise, a process that allows fermentation to occur. During this time, the yeast consumes the sugars in the flour and produces carbon dioxide gas. This gas creates bubbles in the dough, causing it to rise and develop its characteristic airy texture.
Understanding the Rise:
– The ideal temperature for this first rise is around 75°F to 80°F (24°C to 27°C). Yeast thrives in warm environments, which accelerates the fermentation process. If your kitchen is cooler, consider placing the dough in a slightly warmed (but turned off) oven or near a heat source.
– Humidity also plays a role; a covered bowl helps retain moisture. If the dough dries out, it can develop a crust that inhibits rising.
Shaping the Dough
After the first rise, it’s time to shape your dough. This step is essential for ensuring that your final product is consistent and holds its shape during baking.
Techniques for Punching Down and Dividing the Dough:
1. Punching Down: Once the dough has doubled in size, gently punch it down to release the gas. This is not about being rough; you want to deflate it without destroying the gluten structure you’ve developed.
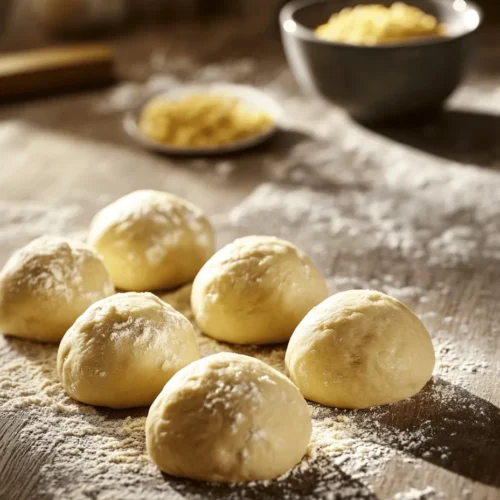
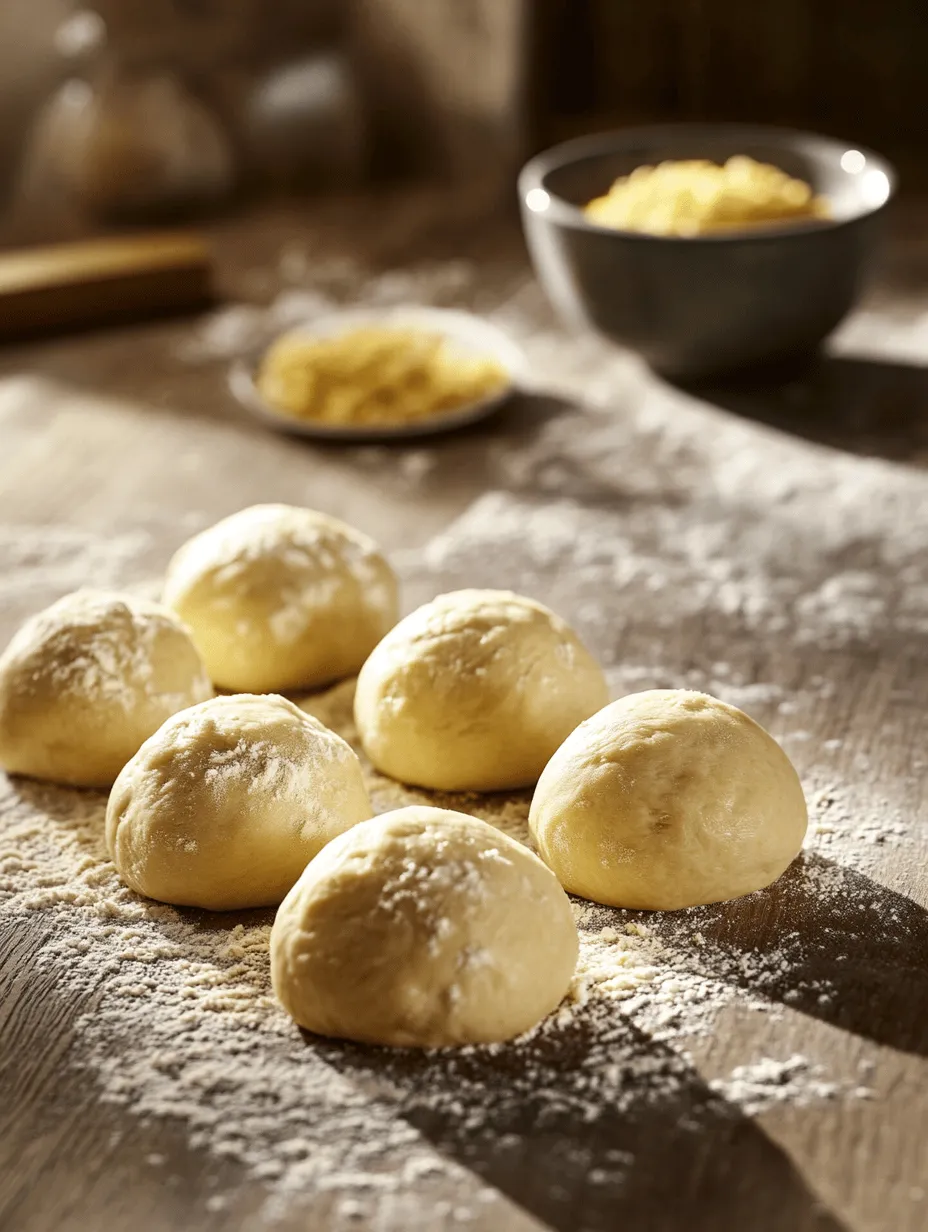
2. Dividing: Depending on how many pizzas you want to make, divide your dough into equal portions. Each portion should weigh approximately 10-12 ounces for a standard-sized pizza.
3. Shaping: Shape each piece into a tight ball. To do this, tuck the edges inward towards the center, creating tension on the outside of the dough ball. This tension is crucial for a good rise during the second fermentation.
The Second Rise: Enhancing Texture and Flavor
Allowing the dough to rise a second time is beneficial for the development of flavor and texture. During this phase, the yeast continues to ferment, and the dough becomes even more flavorful.
Why a Second Rise is Beneficial:
– It allows for more complex flavor development as the yeast continues to work.
– The second rise helps to create a lighter, airier crust, as the carbon dioxide produced during fermentation continues to expand.
Preparing for Baking
Preheating the Oven:
Once your dough has risen for the second time, it’s important to prepare your oven for baking. Preheat it to the highest setting, typically around 475°F to 500°F (246°C to 260°C). A hot oven is crucial because it will lead to the ideal crust texture.
Importance of a Hot Oven:
– A hot oven allows the pizza to cook quickly, resulting in a crispy crust while keeping the inside chewy and flavorful.
Role of Pizza Stones and Baking Sheets:
– If you have a pizza stone, place it in the oven while it preheats. This stone retains heat and provides a consistent cooking surface, aiding in achieving a crispy base.
– If using a baking sheet, you can preheat the sheet to help crisp the bottom of the pizza.
Shaping and Baking the Pizza
Rolling Out the Dough:
When shaping your pizza, aim for the desired thickness and shape that suits your preference.
Tips for Achieving the Desired Thickness:
– Lightly flour your work surface and the dough to prevent sticking.
– Use your hands to stretch the dough gently. Avoid using a rolling pin, as this can deflate the dough and remove the air bubbles you’ve worked to create.
Adding Toppings:
Now comes the exciting part—adding toppings!
Suggestions for Classic and Creative Topping Combinations:
– Classic Margherita: Tomato sauce, fresh mozzarella, basil, and a drizzle of olive oil.
– Pepperoni: Tomato sauce, mozzarella cheese, and pepperoni slices.
– Veggie Delight: A mix of bell peppers, onions, mushrooms, olives, and spinach with a sprinkle of feta cheese.
– Gourmet Options: Try a white pizza with ricotta, spinach, and garlic, or a BBQ chicken pizza with barbecue sauce, cooked chicken, red onions, and cilantro.
Baking Process
Place your assembled pizza in the preheated oven.
Visual Cues for Determining When the Pizza is Perfectly Cooked:
– The crust should be golden brown and firm to the touch.
– The cheese should be bubbly and slightly browned.
Importance of Monitoring the Baking Time:
– Baking typically takes 10-15 minutes, but keep a close eye on your pizza to ensure it doesn’t overcook. Rotate the pizza halfway through if your oven has hot spots.
Serving Your Artisan Pizza
Once your pizza is cooked to perfection, it’s time to serve!
Presentation Ideas for Serving:
– Let the pizza cool for a couple of minutes, then slice using a sharp pizza cutter for clean cuts.
– Serve it on a wooden pizza board or a large platter for a rustic touch.
Suggested Side Dishes or Drinks to Pair with Artisan Pizza:
– A fresh green salad or garlic bread complements pizza beautifully.
– Pair your pizza with a light-bodied red wine or a craft beer for a delightful dining experience.
Conclusion
Making artisan pizza dough from scratch is a rewarding experience that brings satisfaction not only from the process but also from sharing the delicious results with family and friends. The journey from mixing ingredients to enjoying a perfectly baked pizza is filled with fun and creativity.
Encourage yourself to experiment with different toppings and variations, and don’t hesitate to try new flavor combinations. Whether you stick with the classics or venture into gourmet territory, each pizza you make is a chance to explore your culinary skills and delight those around you. The joy of sharing homemade pizza not only enhances the meal but also fosters connections and memories that last a lifetime. So, roll up your sleeves, gather your ingredients, and start creating your perfect artisan pizza today!